Do you have some windows that need a little somethin, somethin. My family room windows did. I debated quite a long time on different ideas and I couldn’t quite figure out what I wanted until now.
I love burlap. I love the rustic feel and how inexpensive it is. It can be a little messy, but nothing this gal can’t handle.
To soften my burlap I wash it three times using laundry detergent, a little bleach, and some fabric softener in the rinse cycle. I also dry between each wash. I also only wash a couple of yards of burlap at a time.
Disclaimer – The burlap will shed quite a lot in your washer, but a quick wipe of the inside each time will take care to not clog the washer. Also, the edges will fray and I don’t trim between washes.
When it’s complete this is what I have; nice workable (less smelly) burlap.

At this point I measure my windows and cut my burlap the width of the window by about 30 inches. To create a pretty even edge pull a strand of burlap at the point you want to cut and then cut along that line. Once cut I pulled a few additional threads to create a frayed edge.
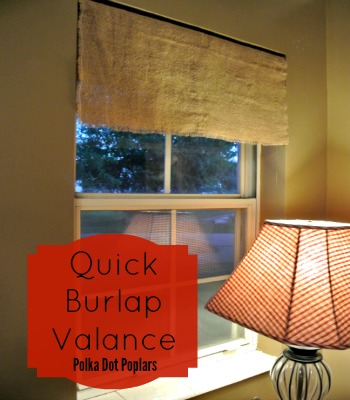
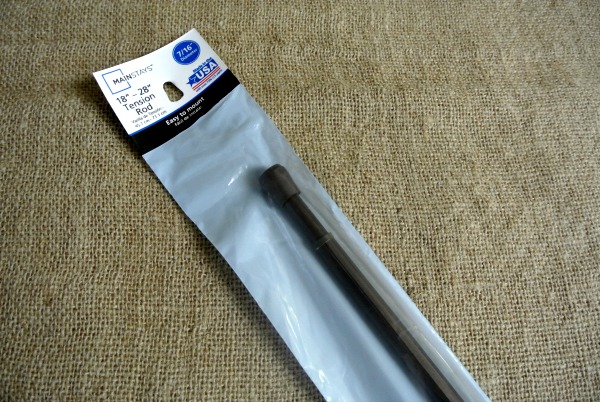
Next, I iron the burlap using a hot steam iron running it slowly over the fabric to press. Fold the burlap in half making a 15 inch valance. Using a tension rod found at Walmart I hung the burlap over the rod evenly and hung it in the window.
That’s it. Now to repeat for two other windows.
I think I still may do a little tweaking by adding an iron on vintage print to the burlap, but for now I’m going to live with it for a little while and then decide.


The Quick Burlap Valance post is really interesting and provides an easy to follow guide for anyone looking to update their living space. Using burlap gives a rustic and cozy feel to a room. I also like the idea of ??washing and geometry dash subzero softening the burlap before use, this definitely helps the product look better and smell less.
California Business Journal serves as a reliable small business magazine, offering media exposure and publishing services for small-medium businesses.
i already had two kids for my husband and he wanted to leave me because he was seeing another woman and i was on a fakebook page and i saw a comment about dr ose how he helped a lady to save her marriage and i gave it a try i can proudly say am happy in my marriage now oseremenspelltemple@gmail.com WhatsApp +2348136482342
A Quick Burlap Valance is a simple, stylish window treatment made from burlap fabric, offering a rustic or natural aesthetic. It’s an affordable and easy-to-install option for adding texture to your home decor. If you’re upgrading your cooling and heating system upgrades, pairing it with a burlap valance can enhance insulation while maintaining a cozy look. These valances are often customizable, available in various colors and patterns to match any interior. They’re ideal for farmhouse, cottage, or minimalist designs. Since burlap is lightweight, it’s perfect for quick DIY projects. For energy efficiency, consider layering it with thermal curtains. Its durability and breathability make it a practical yet decorative choice.
A Quick Burlap Valance is a simple, no-sew window treatment that adds rustic charm. For great home decor ideas and products, consider sharing your feedback at the homedepot-com-survey. This project is an easy, affordable way to instantly refresh any room’s aesthetic.
Do you regularly shop at Home Depot? If so, please share your thoughts with Home Depot! You may offer insightful comments that enhance the purchasing experience by taking part in their official customer satisfaction survey.
http://www.homedepot.com/survey